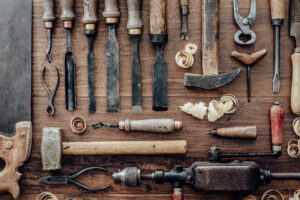
Hey there, aspiring woodworking wizards! Are you ready to embark on a sawdust-filled journey of creativity and craftsmanship? You’ve come to the right place because today, we’re diving headfirst into the world of woodworking with some hilariously simple projects even a hamster could master (well, almost). Whether you want to decorate, be a fantastic human being, or just plain old plant-your-own-food kinda gurl (or guy, we don’t discriminate), you will find these simple woodworking projects easy to follow and create. So, put on your safety goggles, grab your coffee (or your toolkit), and let’s get started!
Benefits of Starting with Simple Projects
Before we unleash your inner carpenter, let’s talk about why it’s essential to start with projects even a sloth could handle (okay, maybe not a sloth, but you get the point).
- Boost Your Confidence: Simple projects build your woodworking street cred. Imagine the swagger when you proudly declare, “I made that!” to your friends.
- Learn the Basics: These projects are like the ABCs of woodworking, teaching you the fundamental skills you’ll need for future masterpieces.
- Minimal Tool Investment: You won’t need a gazillion tools; just a few basics will do the trick. Less tool envy, more woodworking fun!
Talking about tools, here’s a fantastic blog post (yeah subtle brag there…) on tools that can get you started on your awesomeness journey:
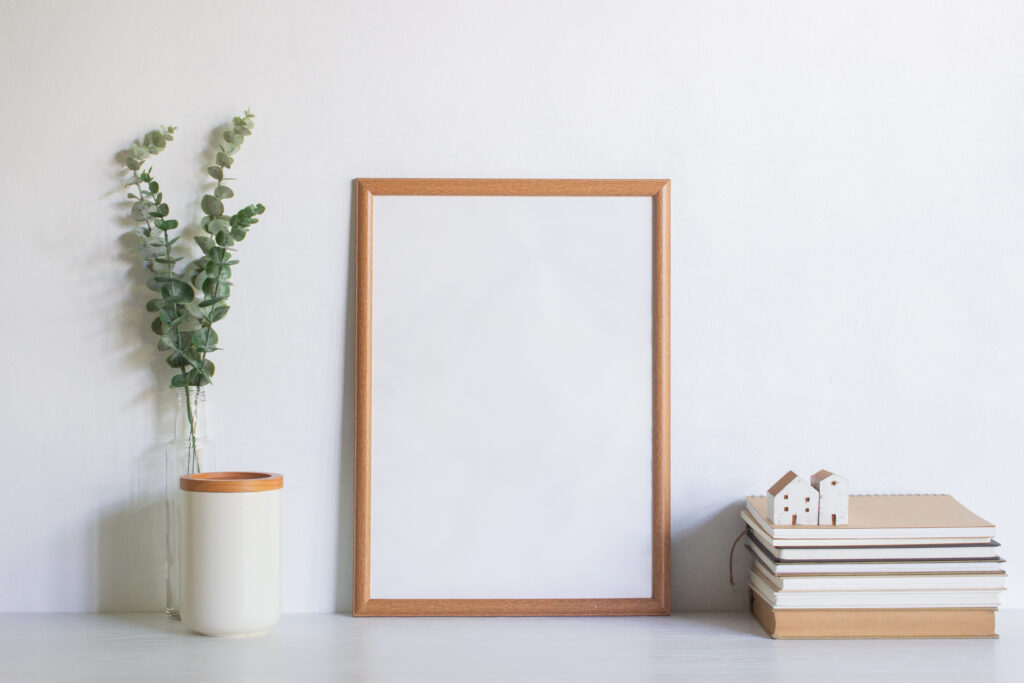
Project 1: Wooden Picture Frame
Materials You’ll Need:
- A wooden board (the flatter, the better)
- Saw
- Sandpaper
- Wood glue
- Clamps
- Paint or finish (optional)
Instructions:
- Cut your wooden board to the desired size of your picture frame.
- Sand the edges to make them smooth (no splinters, please).
- Apply wood glue along the edges and join them together.
- Use clamps to hold everything in place while the glue dries.
- Once it’s dry, you can get artsy with some paint or finish to match your style.
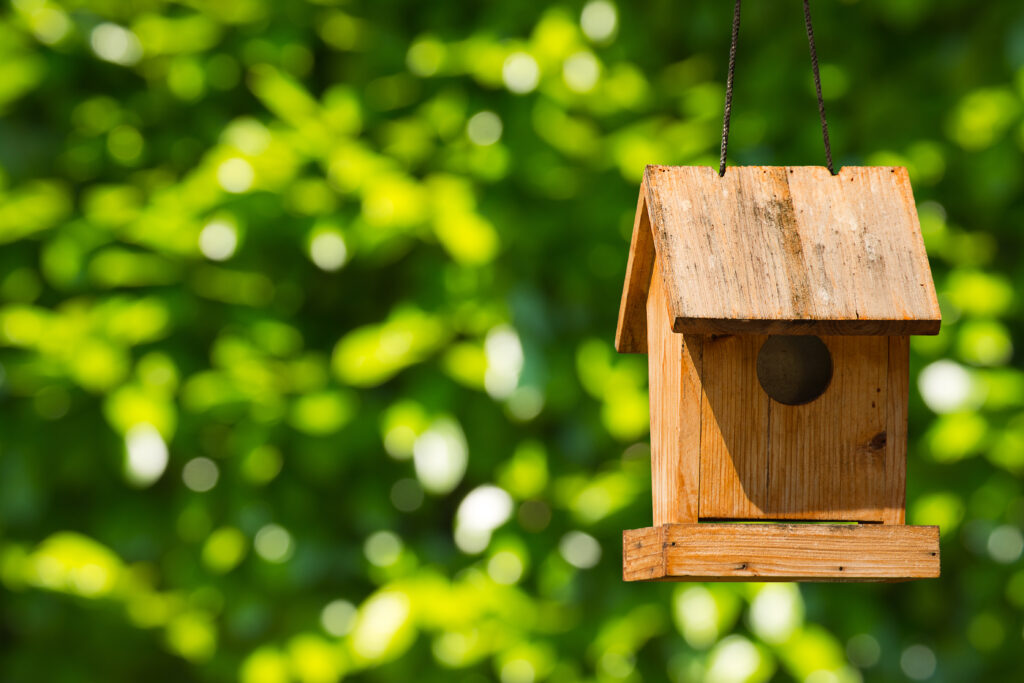
Project 2: Birdhouse for Feathered Friends
Materials You’ll Need:
- Plywood
- Saw
- Wood glue
- Screws
- Screwdriver
- Paints or stains
- Imagination (for decoration)
Instructions:
- Cut the plywood into birdhouse pieces: four walls, one roof, and one base.
- Assemble the walls and roof using wood glue and screws.
- Drill an entrance hole for your feathered friends.
- Decorate your birdhouse to make it the most stylish nest on the block.
- Hang it up and wait for your first avian tenant to move in!
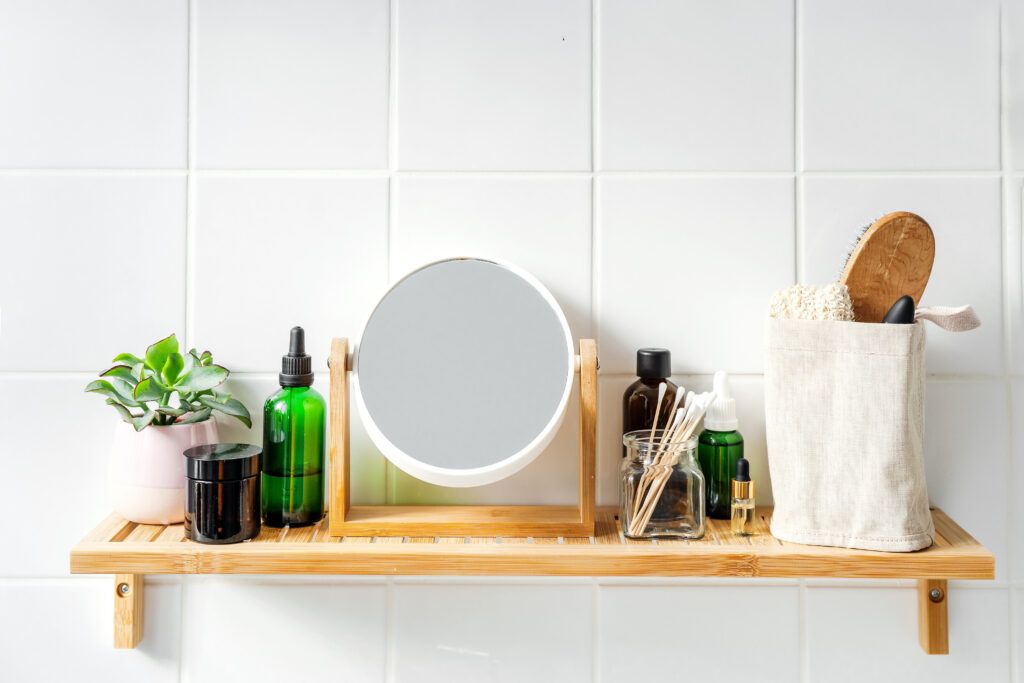
Project 3: Basic Wooden Shelf
Materials You’ll Need:
- A wooden board
- Saw
- Shelf brackets
- Screws
- Screwdriver
- Level (optional, but highly recommended)
Instructions:
- Cut the wooden board to your desired shelf length.
- Attach the shelf brackets to the wall.
- Place the board on top of the brackets.
- Secure it with screws.
- Use a level to make sure it’s straight (or eyeball it if you’re feeling adventurous).
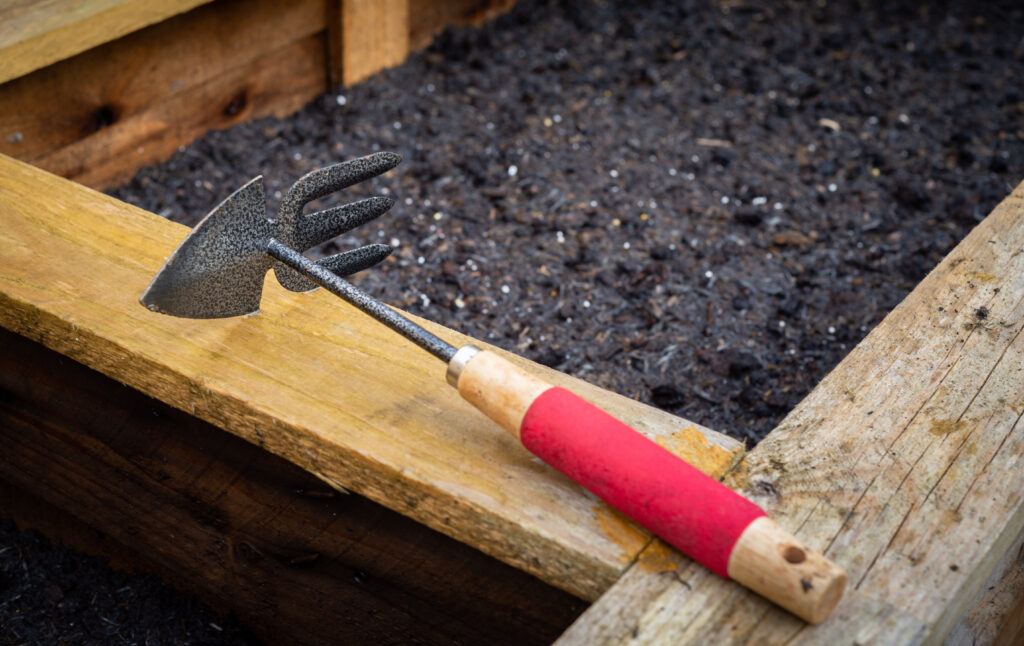
Project 4: Wooden Planter Box
Materials You’ll Need:
- Wooden boards
- Saw
- Wood glue
- Screws
- Screwdriver
- Drill (for drainage holes)
- Paint or stain
- Soil and plants
Instructions:
- Cut the wooden boards for your planter’s sides.
- Assemble the sides with wood glue and screws.
- Drill drainage holes in the bottom.
- Decorate your planter with paint or stain.
- Fill it with soil and plant your favorite green buddies.
Go Forth and Sawdust!
There you have it, woodworking warriors! With these simple projects, you’re well on your way to becoming a DIY legend. Remember, it’s all about having fun and enjoying the creative journey.
So, grab your tools, unleash your inner carpenter, and let those sawdust adventures begin. And hey, don’t forget to share your hilarious woodworking mishaps and triumphs with us – we’re all in this together! Happy woodworking, you magnificent maker of things! 🪚🎨🪓


